Histopathology Staining Explained: H&E and IHC Staining
Histopathology staining helps in identifying and understanding the structure and function of tissues at a microscopic level. Staining in histopathology is definitely a cornerstone in the world of medical research and diagnostics.
This blog post dives deep into the realm of histopathology staining, focusing on the two most common staining techniques: H&E staining and IHC staining.
By the end, you’ll have a clear understanding of these methods and their significance in the field.
What is Histopathology Staining?
Histopathology staining is a technique used to enhance the contrast in tissue samples, allowing for detailed examination under a microscope. This process helps in diagnosing diseases, understanding tissue structure, and conducting various research applications.
What is the Purpose of Staining in Histology?
Staining in histology is essential for highlighting different components within a tissue sample. Historically, staining techniques have evolved from basic dyes to advanced methods that can identify specific cell types and molecular markers. Today, staining is used in medical diagnostics, cancer research, and pathology to provide detailed insights into tissue morphology and pathology.
Histopathology Staining Methods
Histopathology utilizes a variety of staining methods, each designed to highlight specific features of tissue samples. These methods are essential for detailed microscopic examination and diagnosis. Here are some key histopathology staining techniques:
- Hematoxylin and Eosin (H&E) Staining
- Immunohistochemistry (IHC) Staining
- Periodic Acid-Schiff (PAS) Staining
- Masson’s Trichrome Staining
- Silver Staining
Hematoxylin and Eosin (H&E) Staining
Hematoxylin and Eosin (H&E) staining is the gold standard in histopathology. This method uses two dyes:
- Hematoxylin: Stains cell nuclei blue or purple, highlighting the DNA and nuclear structure.
- Eosin: Stains the cytoplasm and extracellular matrix pink or red, providing contrast and highlighting other cellular components.
H&E staining offers a comprehensive view of tissue architecture, allowing pathologists to identify various cell types, tissue structures, and abnormalities. It is widely used for routine examinations and diagnostic purposes.
Immunohistochemistry (IHC) Staining
Immunohistochemistry (IHC) staining is a powerful technique that uses antibodies to detect specific antigens in tissues. The process involves:
- Primary Antibody: Binds to the target antigen within the tissue.
- Secondary Antibody: Linked to a detection system (e.g., enzyme or fluorescent dye) that binds to the primary antibody.
IHC staining provides precise molecular information, making it invaluable for diagnosing diseases, identifying biomarkers, and conducting research. It is extensively used in oncology to detect cancer markers and study protein expressions.
Periodic Acid-Schiff (PAS) Staining
Periodic Acid-Schiff (PAS) staining is used to detect polysaccharides, mucosubstances, and glycoproteins in tissues. The PAS stain highlights:
- Glycogen: Found in liver and muscle tissues.
- Mucins: Present in epithelial tissues, aiding in the identification of mucin-producing tumors.
- Basement Membranes: Essential for assessing the integrity and structure of epithelial and endothelial layers.
PAS staining is commonly used in pathology to diagnose conditions like glycogen storage diseases, fungal infections, and certain types of tumors.
Masson's Trichrome Staining
Masson’s Trichrome staining differentiates between muscle fibers, collagen fibers, and erythrocytes. This method involves:
- Three Dyes: Each stains different tissue components.
- Muscle Fibers: Stained red.
- Collagen Fibers: Stained blue or green.
- Erythrocytes: Stained red or yellow.
This staining technique is particularly useful for evaluating fibrosis, muscle diseases, and liver biopsies. It provides clear visualization of connective tissues and their relationships with other tissue components.
Silver Staining
Silver staining is a specialized method used to highlight reticular fibers, nerve cells, and microorganisms. It involves the use of silver salts, which:
- Bind to Tissue Components: Forming visible precipitates.
- Reticular Fibers: Stained black, aiding in the diagnosis of certain connective tissue disorders.
- Nerve Cells: Visualized in neural tissue examinations.
- Microorganisms: Identified in infectious disease studies.
Silver staining is particularly valuable in neuropathology, microbiology, and for detecting delicate structures within tissues.
Most Common Stains Used in Histology
The most common stains used in histology is H&E and IHC staining. H&E staining and IHC staining stand out due to their widespread application and effectiveness in revealing tissue structures and molecular details.
What is H&E Staining?
Hematoxylin and Eosin (H&E) staining is a technique used to distinguish the nucleus and cytoplasm in tissue samples. Hematoxylin stains cell nuclei blue, while eosin stains the cytoplasm and extracellular matrix pink.
Why Do We Do H&E Staining?
H&E staining is fundamental for several reasons:
- Identification of Cell Types: Differentiates between various cell types based on color and morphology.
- Tissue Structure: Provides a detailed view of tissue architecture.
- Pathology Diagnosis: Essential for diagnosing diseases by revealing abnormalities in tissue samples.
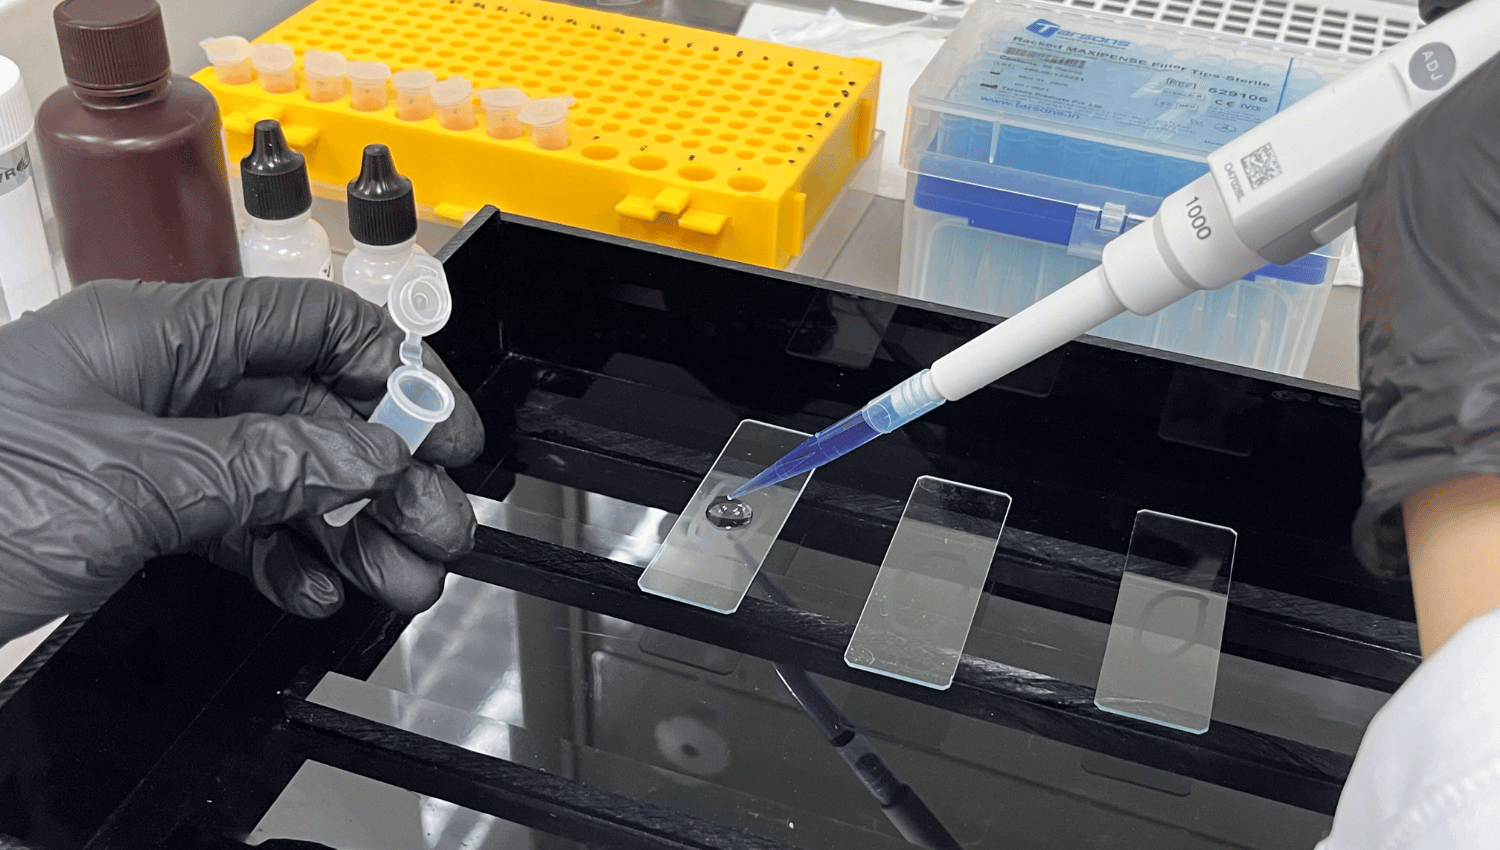
How to Do H&E Staining - H&E Staining Procedures
The H&E staining procedure is a multi-step process that requires precision and attention to detail to ensure high-quality results. Here’s a detailed breakdown of each step:
- Fixation
- Dehydration
- Clearing
- Embedding
- Sectioning
- Staining
- Mounting
1. Fixation
Fixation is the first and crucial step in H&E staining. It involves preserving the tissue sample to prevent autolysis and degradation. The process typically uses a fixative like formalin (formaldehyde solution) to stabilize and preserve the tissue structure and cellular components.
Procedure:
- Immerse the tissue sample in 10% neutral buffered formalin for a specified duration (usually 6-24 hours, depending on the size and type of tissue).
2. Dehydration
After fixation, the tissue must be dehydrated to remove water, which is incompatible with the paraffin wax used in later steps. This is done using a series of graded alcohol solutions to gradually remove the water from the tissue without causing damage.
Procedure:
- Transfer the tissue through increasing concentrations of ethanol (70%, 80%, 90%, 95%, and 100%), spending about 1-2 hours in each solution.
3. Clearing
Clearing involves replacing the alcohol with a solvent that is miscible with both alcohol and paraffin wax. Xylene is commonly used for this step to make the tissue transparent and prepares it for embedding in paraffin.
Procedure:
- Immerse the tissue in xylene for 1-2 hours, often repeating this step to ensure complete clearing.
4. Embedding
Embedding encases the tissue in paraffin wax, providing support for thin sectioning. This creates a solid block of tissue suitable for cutting into thin sections.
Procedure:
- Place the cleared tissue in molten paraffin wax at 60°C, allowing the wax to infiltrate the tissue completely. Then, place the tissue in a mold filled with paraffin and let it solidify.
5. Sectioning
Sectioning involves cutting the paraffin-embedded tissue into thin slices using a microtome to produce thin sections (typically 4-5 micrometers) suitable for microscopic examination.
Procedure:
- Mount the paraffin block on a microtome, and carefully slice the tissue into thin sections. Float the sections on a water bath at 40-45°C to flatten them, then pick them up on glass slides.
6. Staining
Staining is the core step where hematoxylin and eosin are applied to the tissue sections to highlight different cellular components. Hematoxylin is used to stain the cell nuclei blue/purple, and eosin to stain the cytoplasm and extracellular matrix pink/red.
Procedure:
- Hematoxylin Staining: Submerge the tissue slides in hematoxylin for 5-10 minutes. Rinse in water.
- Differentiation: Briefly dip the slides in acid alcohol to remove excess stain, then rinse in water.
- Bluing: Immerse the slides in a weak alkaline solution (e.g., ammonia water) to develop the blue color of the hematoxylin. Rinse in water.
- Eosin Staining: Submerge the slides in eosin for 1-5 minutes. Rinse in water.
7. Mounting
Mounting involves placing the stained tissue sections on slides for examination under a microscope.
Procedure:
- Dehydration and Clearing: Quickly dehydrate the slides through increasing concentrations of ethanol (95% and 100%) and then clear them in xylene.
- Cover Slipping: Apply a drop of mounting medium on the tissue section and place a coverslip on top, ensuring no air bubbles are trapped.
H&E Stain Services
At MYmAb Biologics, we offer professional H&E staining services. Our team ensures high-quality results, providing precise and detailed tissue analysis. Reach out to us for expert H&E staining services tailored to your research needs.
What is IHC Staining?
Immunohistochemistry (IHC) staining is a method that uses antibodies to detect specific antigens in tissue sections, allowing for the visualization of proteins and other molecules.
Why Do We Do IHC Staining?
IHC staining is performed to:
- Identify Specific Proteins: Detects proteins and other molecules within cells.
- Research Applications: Used in cancer research to study the expression of biomarkers.
- Diagnostics: Helps diagnose various diseases by identifying abnormal protein expressions.
How to Do IHC Staining - IHC Staining Procedures
Immunohistochemistry (IHC) staining is a detailed procedure that allows for the visualization of specific antigens within tissue sections using antibodies. Here’s a comprehensive breakdown of each step:
- Antigen Retrieval
- Blocking
- Primary Antibody Incubation
- Secondary Antibody Incubation
- Visualization
- Counterstaining
- Mounting
1. Antigen Retrieval
Antigen retrieval is a critical step that unmask antigens that may have been masked by the fixation process, making them accessible to antibodies.
Procedure:
- Heat-Induced Epitope Retrieval (HIER): Heat the tissue sections in a buffer solution (commonly citrate or EDTA) using a microwave, pressure cooker, or water bath. Typical conditions are 95-100°C for 10-20 minutes.
- Enzymatic Retrieval: Treat the tissue sections with enzymes such as proteinase K or trypsin at specific concentrations and incubation times.
2. Blocking
Blocking is essential to prevent nonspecific binding of antibodies to the tissue, which can lead to background staining.
- Procedure: Incubate the tissue sections with a blocking buffer (commonly containing serum, BSA, or non-fat dry milk) for 30 minutes to 1 hour at room temperature.
3. Primary Antibody Incubation
The primary antibody incubation step involves applying the primary antibody that specifically binds to the target antigen.
Procedure:
- Preparation: Dilute the primary antibody in an appropriate antibody diluent.
- Incubation: Apply the diluted primary antibody to the tissue sections and incubate for a specified period (typically 1 hour at room temperature or overnight at 4°C), ensuring even coverage.
4. Secondary Antibody Incubation
This step involves applying a secondary antibody that is linked to a detection system and binds to the primary antibody.
Procedure:
- Preparation: Dilute the secondary antibody in an appropriate antibody diluent.
- Incubation: Apply the diluted secondary antibody to the tissue sections and incubate for 30 minutes to 1 hour at room temperature.
5. Visualization
Visualization makes the antigen-antibody interaction visible to detect and visualize the bound antibodies, using chromogenic or fluorescent methods.
Procedure:
- Chromogenic Detection: Apply a chromogenic substrate (e.g., DAB or AEC) that reacts with an enzyme (e.g., HRP or AP) linked to the secondary antibody, producing a colored precipitate at the site of antigen-antibody binding. Incubate until the desired intensity is achieved and then rinse in water.
- Fluorescent Detection: Apply a fluorescently-labeled secondary antibody and visualize using a fluorescence microscope. Different fluorophores can be used to label multiple targets in the same tissue section.
6. Counterstaining
Counterstaining adds a contrasting dye to highlight tissue morphology and provide context to the antigen staining.
Procedure:
- Hematoxylin Counterstain: Immerse the slides in hematoxylin for a brief period (30 seconds to 2 minutes), then rinse in water. This stains the nuclei blue and provides contrast.
- Fluorescent Counterstains: Use nuclear stains like DAPI or Hoechst for fluorescently labeled tissues.
7. Mounting
Mounting the stained tissue sections prepares them for microscopic examination and preserves them.
- Procedure:
- Dehydration and Clearing (for chromogenic stains): Quickly dehydrate the slides through increasing concentrations of ethanol (95% and 100%) and then clear them in xylene.
- Mounting Medium: Apply a drop of mounting medium (aqueous or resin-based, depending on the detection method) on the tissue section.
- Cover Slipping: Place a coverslip on top, ensuring no air bubbles are trapped.
IHC Stain Services
MYmAb Biologics offers top-tier IHC staining services, ensuring accurate and reproducible results for your research and diagnostic needs. Contact us to learn more about our IHC staining services and how we can assist you in your projects.
High-Quality H&E and IHC Staining Services - MYmAb Biologics
Histopathology staining, especially H&E and IHC staining, is vital for medical diagnostics and research.
At MYmAb Biologics, we provide high-quality, affordable H&E and IHC staining services globally. Whether you’re conducting cancer research or need diagnostic support, our team is here to help.
Reach out to MYmAb Biologics for all your histopathology staining needs.